 跳至内容
跳至内容 
Properly aimed headlights are essential for safe night driving — too low and you lose visibility, too high and you blind oncoming drivers. This step-by-step guide shows you how to aim your headlights correctly at home. TUHO Lighting manufactures LED headlight bulbs with consistent beam patterns that are easier to align than cheap alternatives.
Why Headlight Aiming Matters
Headlight aim directly affects safety for everyone on the road. Misaimed headlights reduce your visibility, dazzle oncoming drivers, and in some regions cause inspection failure. The headlamp design includes specific beam patterns engineered around proper aim. A 30-minute adjustment can dramatically improve night driving and prevent dangerous glare.
Signs Your Headlights Are Misaligned
- Oncoming drivers flash their high beams at you (you are blinding them)
- The road ahead is poorly lit even with high beams
- One beam is noticeably higher or lower than the other
- Your beam pattern points into the trees rather than the road
- Recent bulb replacement or minor front-end impact (bumpers disturb aim)
Preparation and Tools
You need: a flat, level surface, a blank wall, masking tape, a tape measure, a screwdriver or socket set, and a friend to help (optional). Park the vehicle 25 feet (7.6 m) from the wall, facing it directly. Ensure the vehicle is on level ground — a sloped driveway ruins the measurement. Inflate tires to spec and ensure the trunk is not overloaded, as vehicle attitude affects beam height.
Measuring Headlight Height
First, measure the distance from the ground to the center of each headlight lens. Record this height. For most vehicles, the cutoff of the low beam should sit slightly below this height at 25 feet. If the vehicle has factory load-leveling or adjustable suspension, set it to the normal driving position. These measurements define the target zone for your beam cutoff.
The Wall Aiming Method
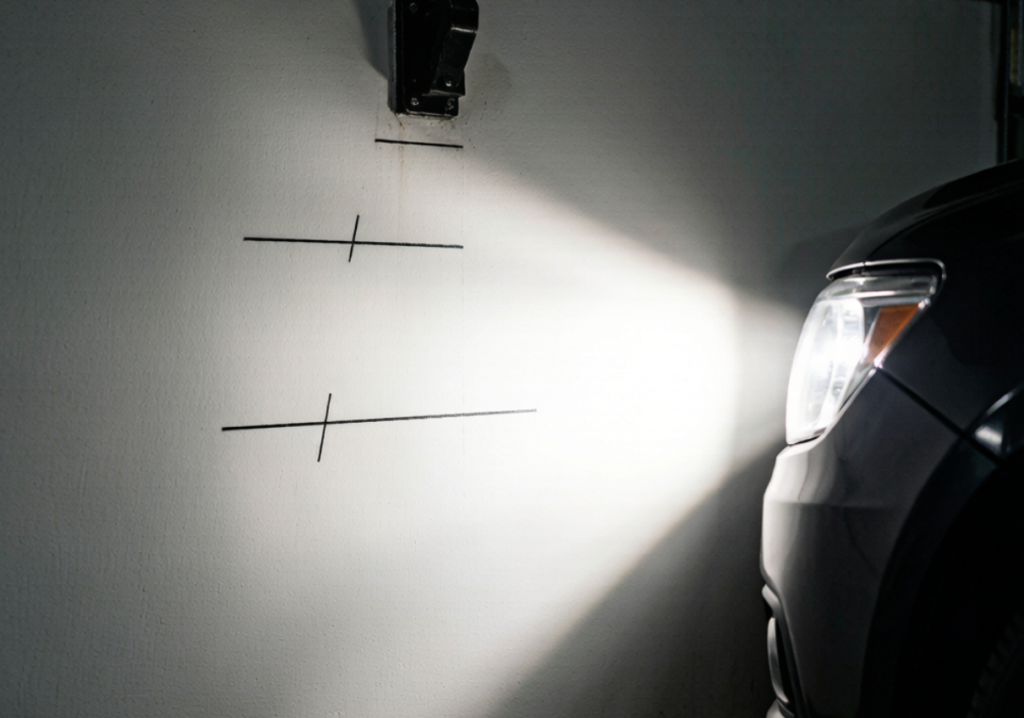
With the vehicle 25 feet from the wall: mark a vertical center line on the wall directly in front of the vehicle’s center. Mark a horizontal line at the measured headlight height. Then mark a second horizontal line 2 inches (5 cm) below the first — this is the target cutoff line for most vehicles. Cover one headlight while adjusting the other, so each is set independently. The beam pattern photometry ensures the low beam’s sharp cutoff falls on this line.
Making the Adjustments
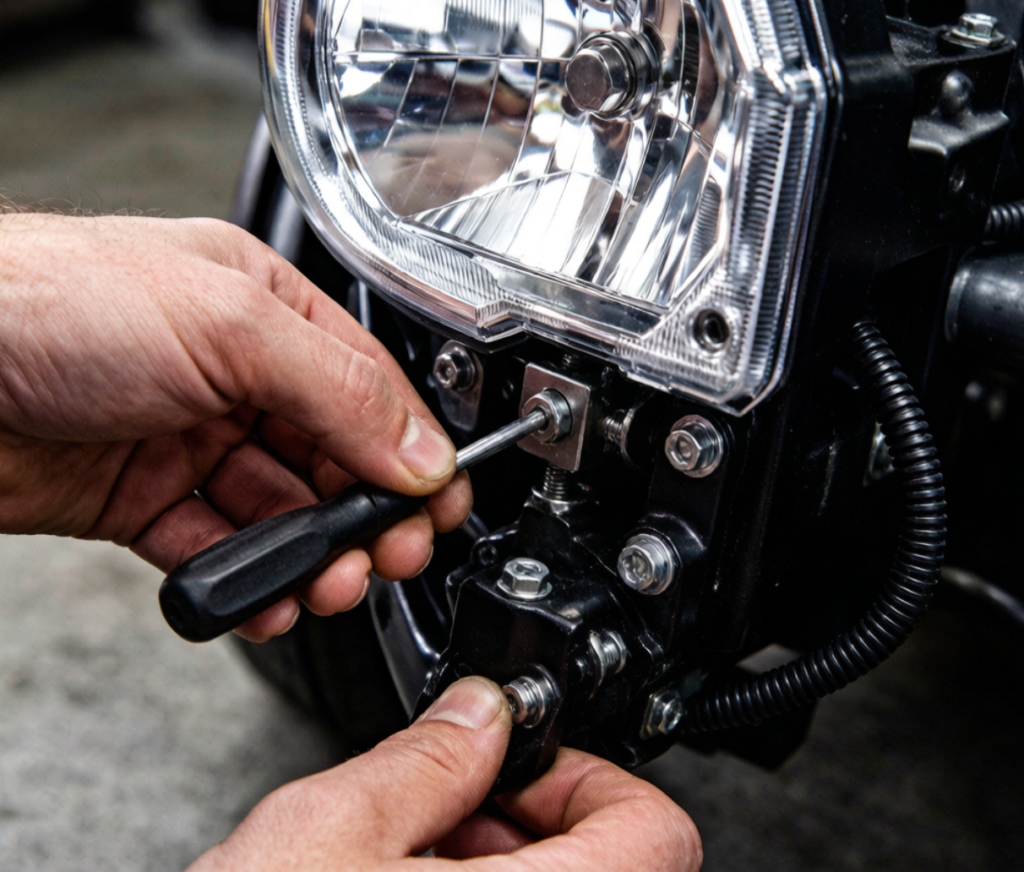
Locate the adjustment screws — typically two per headlight: one for vertical (up/down), one for horizontal (left/right). Use the appropriate screwdriver or socket. Turn the vertical screw until the beam cutoff aligns with the 2-inch-below line. Adjust slowly; small turns produce noticeable changes. After adjusting one headlight, switch to the other and repeat. Always finish by testing on a real road.
Horizontal Adjustment
The horizontal aim should center the beam slightly to the right of straight-ahead (for right-hand traffic) or left (for left-hand traffic) — the “kick-up” of the beam pattern should sit away from oncoming traffic. Mark vertical lines on the wall corresponding to each headlight’s horizontal position, then adjust the horizontal screw until each beam’s step points slightly toward the curb side. This prevents glare for oncoming drivers.
After Upgrading to LED or HID
Upgrading from halogen to LED or HID frequently changes the beam pattern because the light source position differs. If your new LED bulb produces glare or poor illumination, re-aim the headlights after installation. Quality LED bulbs with accurate chip placement minimize this problem. TUHO’s plug-and-play LED bulbs are engineered to match halogen beam geometry, simplifying installation and aiming.
Legal Requirements
Many jurisdictions regulate headlight aim. ECE regulations and FMVSS 108 set photometric requirements for beam pattern and intensity. Misaimed headlights can cause annual inspection failure and roadside citations. Regulatory compliance aside, correct aiming is simply good driving practice — for your safety and everyone else’s. After any adjustment, verify your work on a dark road.
FAQ
How do I know if my headlights are aimed correctly?
Use the wall method: park 25 feet from a wall, mark the headlight height, and check the beam cutoff sits about 2 inches below that mark. Test-drive on a dark road to confirm visibility without glare.
How often should I aim my headlights?
Aim after bulb replacement, after any front-end impact, if you notice glare complaints, or if visibility seems poor. Otherwise, check annually as part of routine maintenance.
Do LED headlights need different aiming?
LED bulbs with correct chip placement match halogen beam patterns and aim the same way. Cheap or poorly designed LEDs may need more adjustment — or replacement.
Can I aim headlights without a wall?
Yes, using the vehicle’s leveling screws against a flat garage door or large white surface works. The wall method is simply the most accurate home technique.
LED Headlights That Aim Clean and Perform Long
TUHO Lighting builds LED headlight bulbs with accurate beam geometry and reliable cooling — easier to install, easier to aim, and built to last. Explore our headlight range or contact us for sourcing or technical support.